An article recently posted on Medium explained how easy it was to hack an Amazon Dash Button to track Baby Data. Pretty neat idea… but the example given required a laptop to constantly be running a python network sniffer. If the laptop shut off, nothing would be recorded. This gave me an idea. Since the network sniffer is simply looking for a device (mac address) on the network, why not make the script run on the router? Also, I want to be able to do more technical things. For example, send a tweet saying that I clicked the button (via a PHP script).
My router is a Linksys E2000 flashed with the newest version of Tomato. DD-WRT works for this too. I’d actually recommend DD-WRT over Tomato. Sorry, this script won’t work on most routers natively.
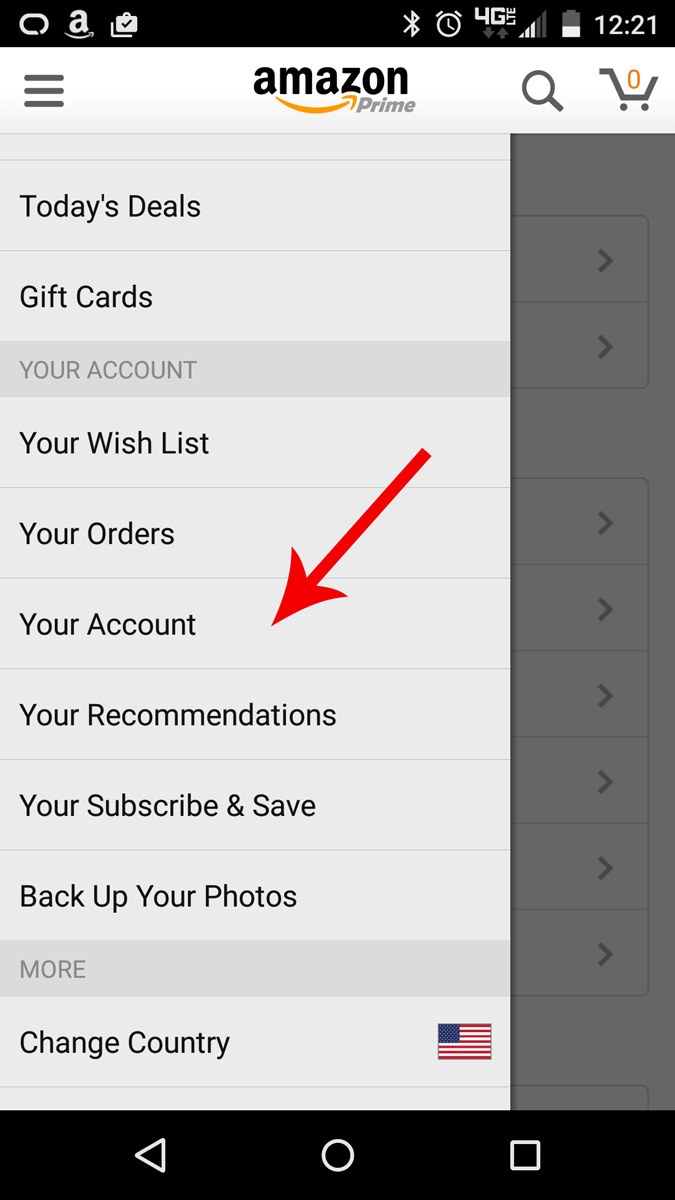
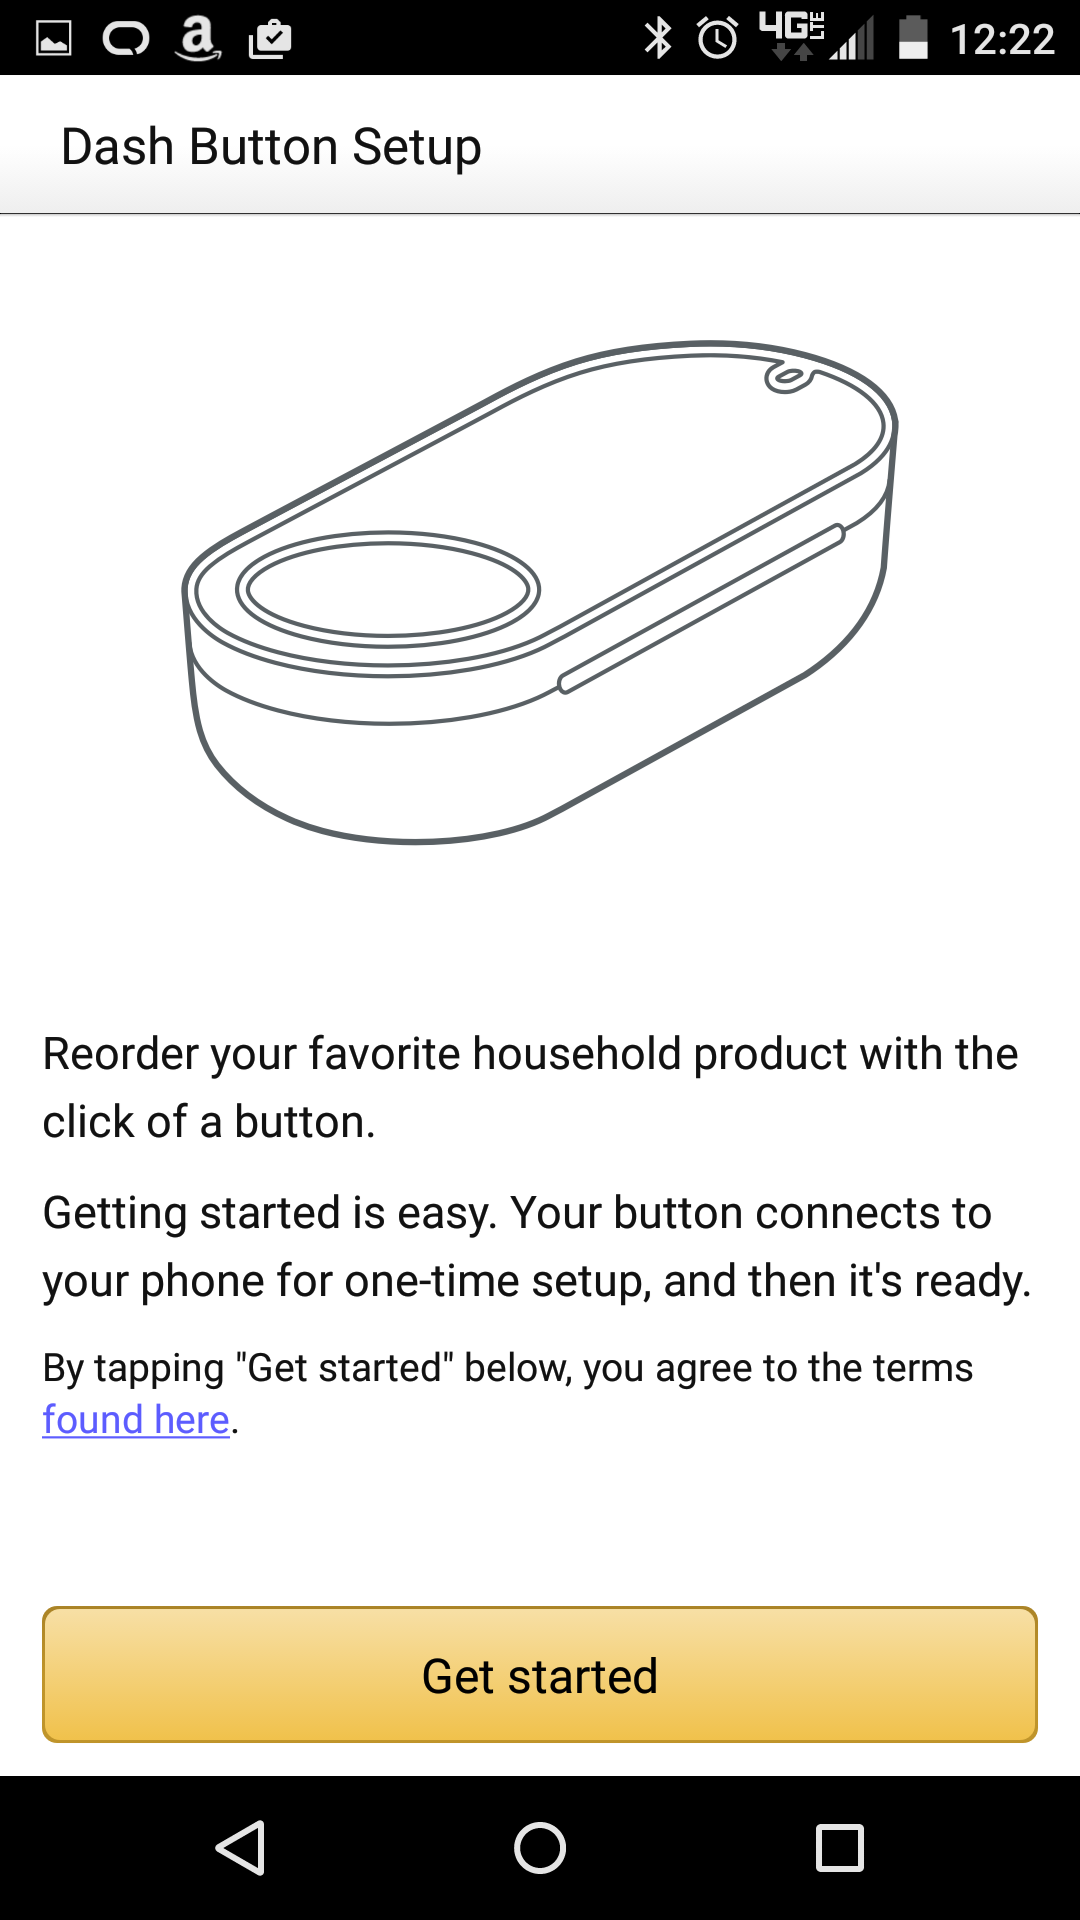
Dash Button Setup
-
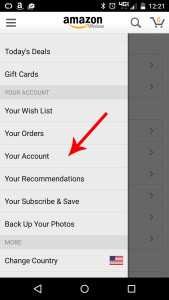
- 1.) Go to the Amazon Shopping app. In the menu find “Your Account”
-
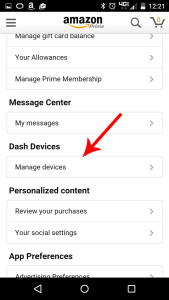
- 2.) Under Dash Devices, select Manage devices

-
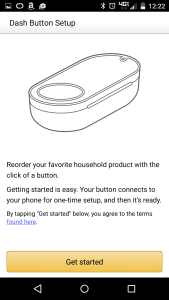
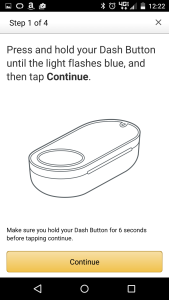
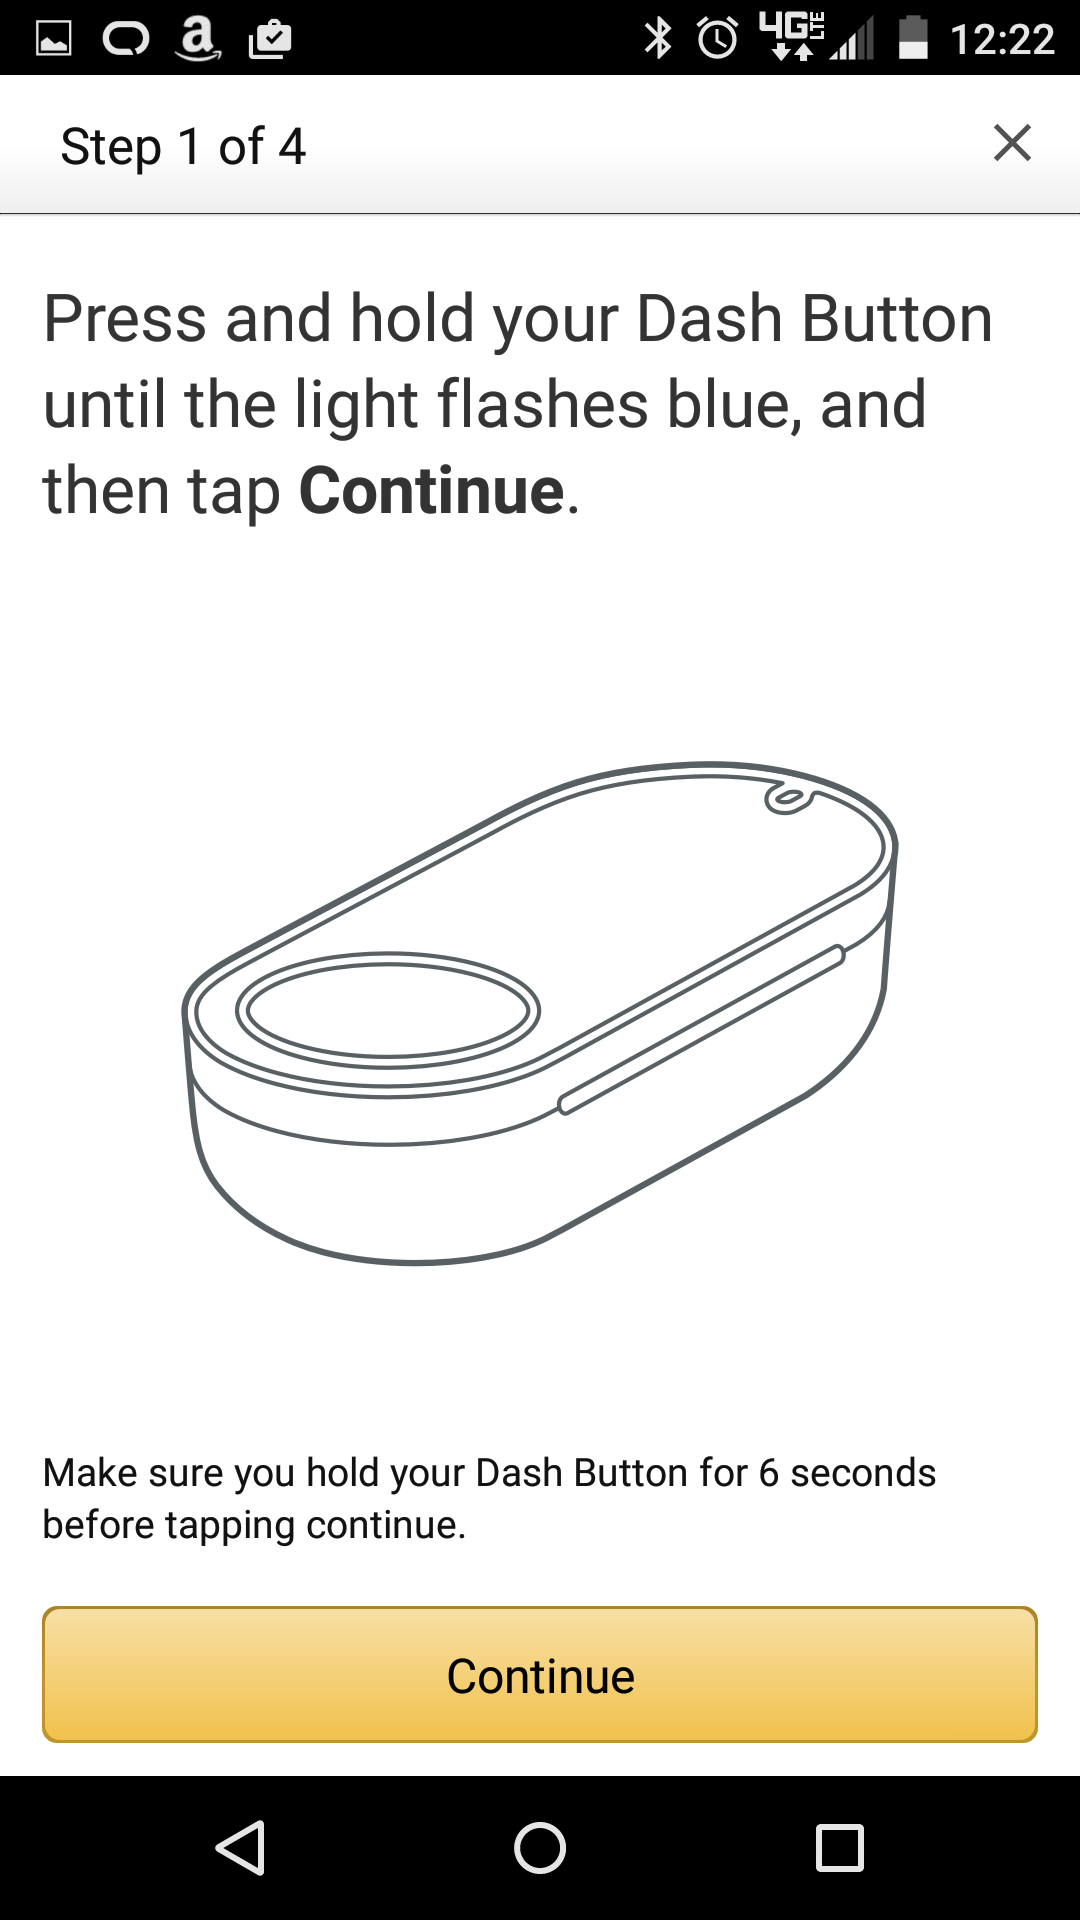
- 3.) Follow the instructions
-
- 4.) Follow the instructions
-
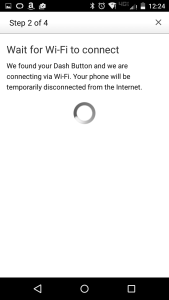
- 5.) Select your wifi network and press continue

-
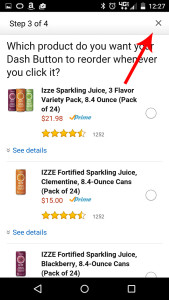
- 6.) Exit out at this point. By quitting here, nothing will be ordered when you
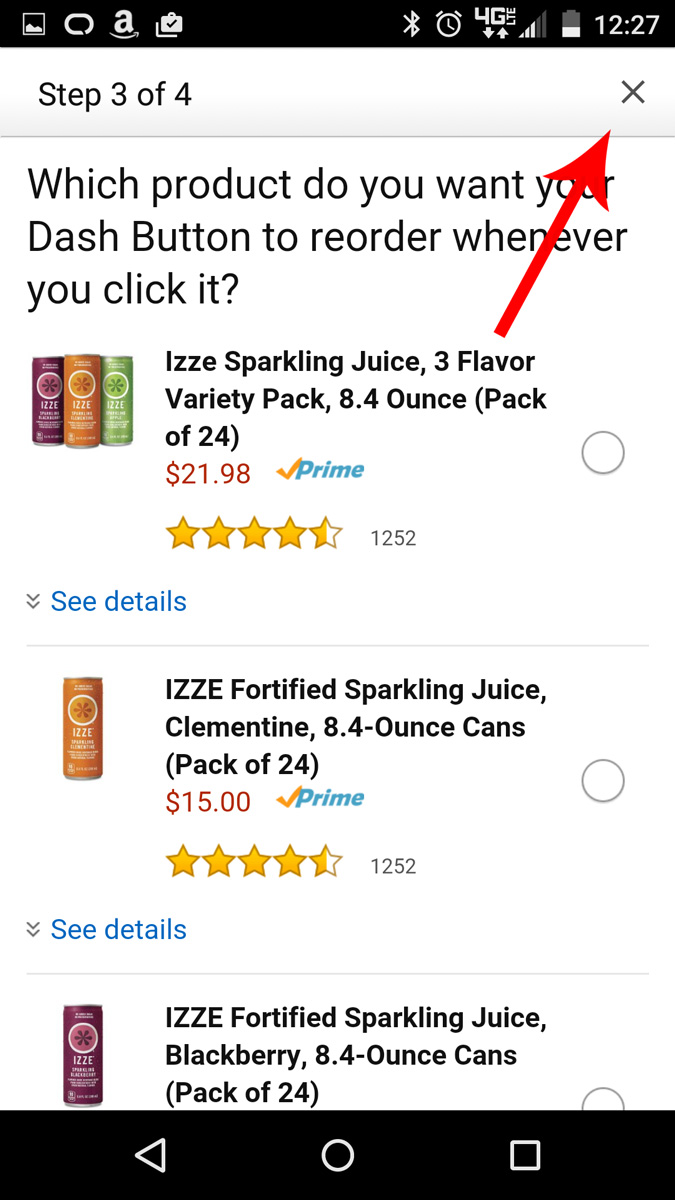
-
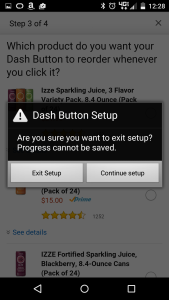
- 7.) Exit Setup
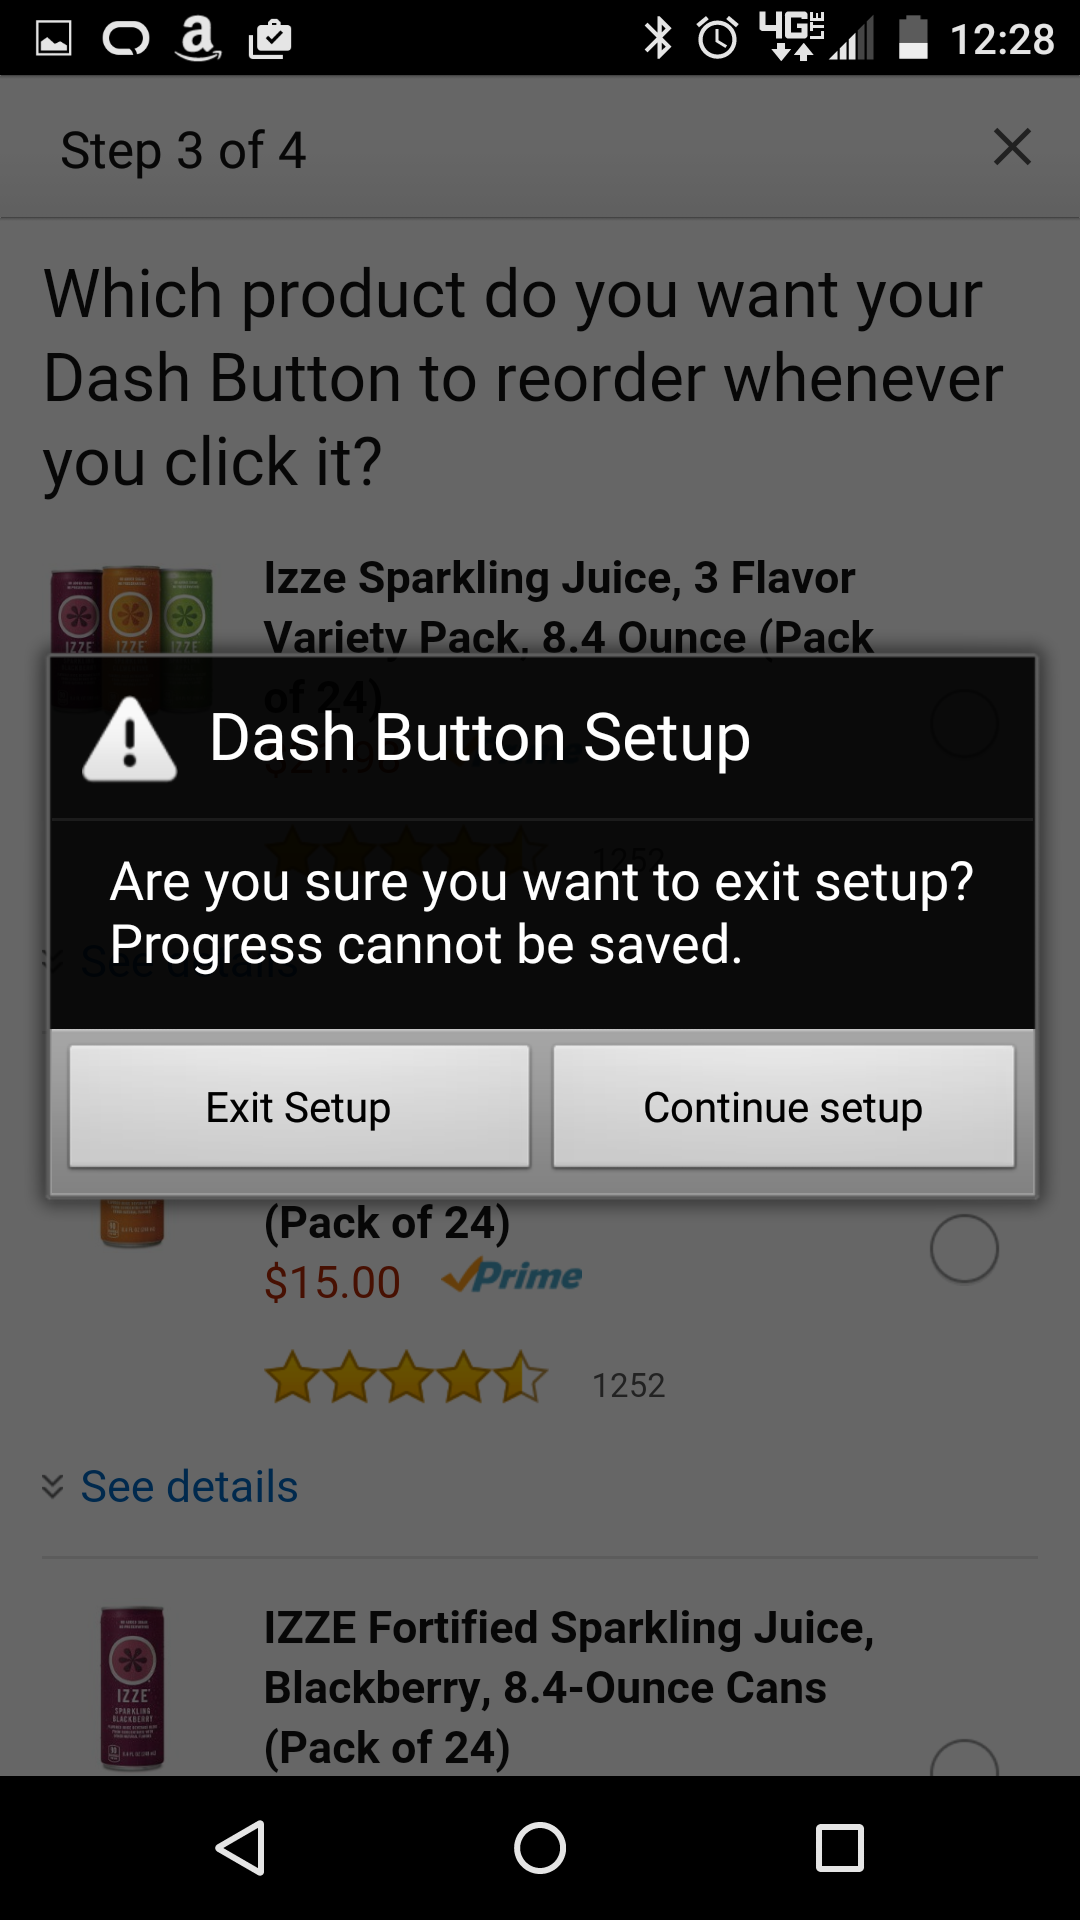
-

- 8.) To prevent popups on your phone, select Notification Settings
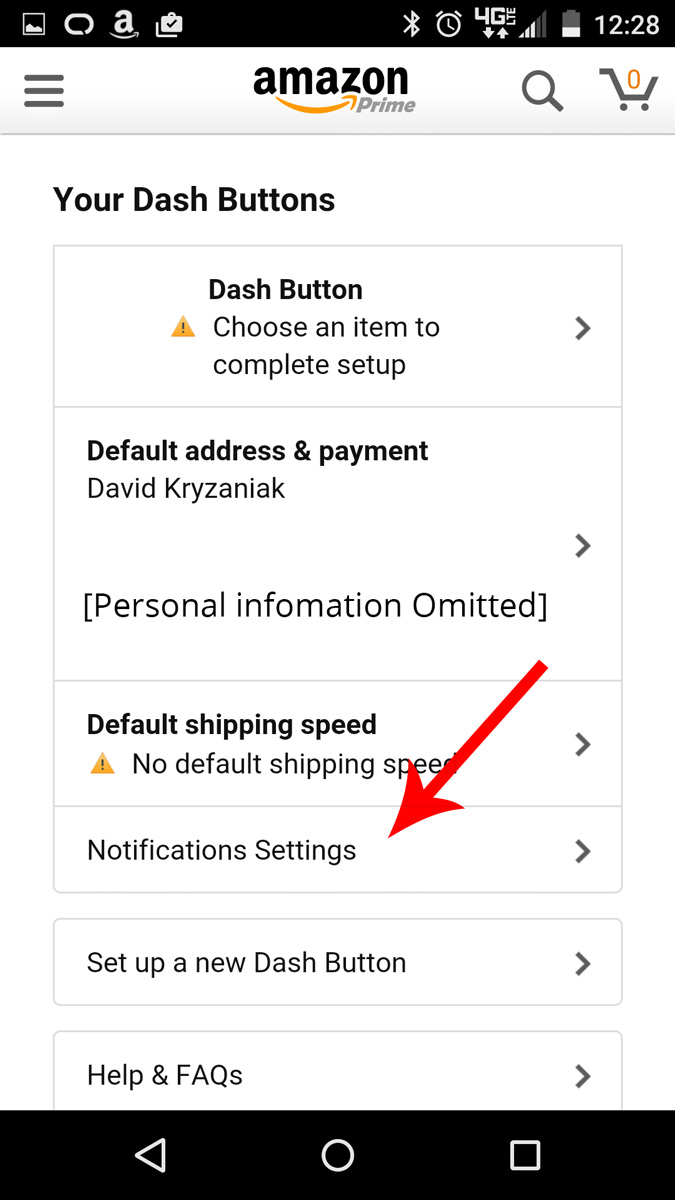
-
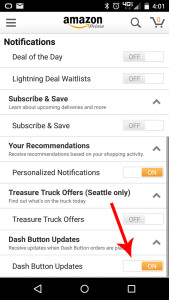
- 9.) Turn off the alerts

Finding The Mac Address
We need to find the mac address of the Dash. The Medium article used a python script to do this. I’m lazy and I don’t know much python. It’s much simpler to just login to the router, go to the Devices page, press the Dash Button, and refresh the page until a new device appears.
Found it! Looks like the mac address of my Dash Button is “74:75:48:B9:80:FB”
The Script
As discussed in the original article, the Dash Button only powers up for a few seconds. We’ll need a shell script to poll the connected devices every few seconds to see if anything with a mac address of 74:75:48:B9:80:FB is active. Once found, we’ll wait 60 seconds before sniffing again.
First, we need to SSH into router. If you’re on OSX, open up the terminal. PC users’ will need to install putty to connect. Also, before attempted to connect, make sure SSH is enabled in the router settings. Once in, you’ll need to create a new file. (Alternatively, you could use SFTP to move the file)
Next, we’ll need to copy over the boilerplate shell script I wrote. All you need to do is enter your mac address on line #3.
Now, let’s give it a shot. Run the script, wait a few seconds, then hit the button!
Next Steps
Great! We can now detect when the button is pressed. Now, I want it to compose a Tweet every time the button is pressed. Sadly, the Tomato core (EasyBox Linux) does not have cURL installed. If it did, creating a new tweet would be a breeze. I believe DD-WRT has cURL, but I’m not 100% sure. Since wget is the only thing available, we’ll need to setup a relay and have that create the tweet. Disappointing note about wget in Tomato, it’s not the “full version”. They’ve stripped out a lot of the options…
Take a look at line #32 in the shell script. Since there isn’t a great way to authenticate to a remove server via wget, I’m going to use the user agent -U field and a GET parameter as an authentication check (there probably are better ways to do this…). In addition to the “secret” GET parameter, I’m also sending a “type” and “msg”. The type is for future enhancements, and msg is the message we want to tweet.
echo `wget -U "**my-secret-user-agent**" -O /dev/tty "http://example.com/test.php?

secret=key&type=twitter&msg=I%20just%20pressed%20my%20Amazon%20Dash%20button"`
All that’s left is writing a simple endpoint. I’m using PHP for this.
Everything Together
Start the script. Press the button. Check Twitter:
[2015-08-23 15:38:14] I just pressed my Amazon Dash button
— David Kryzaniak (@dave_kz) August 23, 2015
Hurray! It works!
Side note: You might also want to set up a cron to make sure this script is always running.
Hopefully more Dash hacks to come!
I’m confused. I’ve modified the script to identify my dash button (74:75:48:7B:7F:02) and have it running on my tomato router. I’ve set it to a static ip and I’m seeing messages in /var/log/messages such as:
Dec 3 17:10:34 Guardian daemon.info dnsmasq-dhcp[10558]: DHCPDISCOVER(br0) 74:75:48:7b:7f:02
Dec 3 17:10:34 Guardian daemon.info dnsmasq-dhcp[10558]: DHCPOFFER(br0) 192.168.3.137 74:75:48:7b:7f:02
Dec 3 17:10:34 Guardian daemon.info dnsmasq-dhcp[10558]: DHCPREQUEST(br0) 192.168.3.137 74:75:48:7b:7f:02
Dec 3 17:10:34 Guardian daemon.info dnsmasq-dhcp[10558]: DHCPACK(br0) 192.168.3.137 74:75:48:7b:7f:02 hefty-dash-button
However the script keeps showing “Dash not found”. Any suggestions? The only thing I did was paste the mac id on line 3. I tried it with and without quotes.
The script failed for me because I had assigned a static ip to the dash button so it always appeared when the “ip neigh” command was executed.
Thanks for this post!
I had a little trouble getting this going:
1. MAC addresses are case sensitive. I needed to change to lowercase.
2. My router (wrt54gl) was holding the MAC address so it was always passing even if the MAC address was “stale”. I modified line 26 as the following:
`ip neigh | grep “$MACADDR REACHABLE”`
I wrote a blog on how to do this with a DD-WRT router for those interested
http://nbiq.blogspot.com/2016/07/connecting-amazon-dash-buttons-to-ifttt.html
I had same problem with static IP address, added
ip neigh flush dev wlan0
right after the Dash button press was detected. Requires the script to run as root 🙁 I also changed grep to grep -i to be case sensitive about the mac address.
*insensitive
This script can be used on dd-wrt by replacing ‘ip neigh’ on line 26 with ‘wl assoclist’. Newer versions of dd-wrt replaced ‘ip’ with the busybox version which doesn’t return the needed output.
I been trying to set this up but I get this issue
MacAdress : not found
Line 32 : EOF in back quote substitution
Can any one help?
P.s. total novice here
As antiphp suggested, I had to call “ip neigh flush…” and modify the “ip neigh | grep “$MACADDR”” by filtering out results with FAILED state.